Home » Archives for valevans » Page 2

Author: valevans

Al Stohleman 1/6 scale saddle – second version

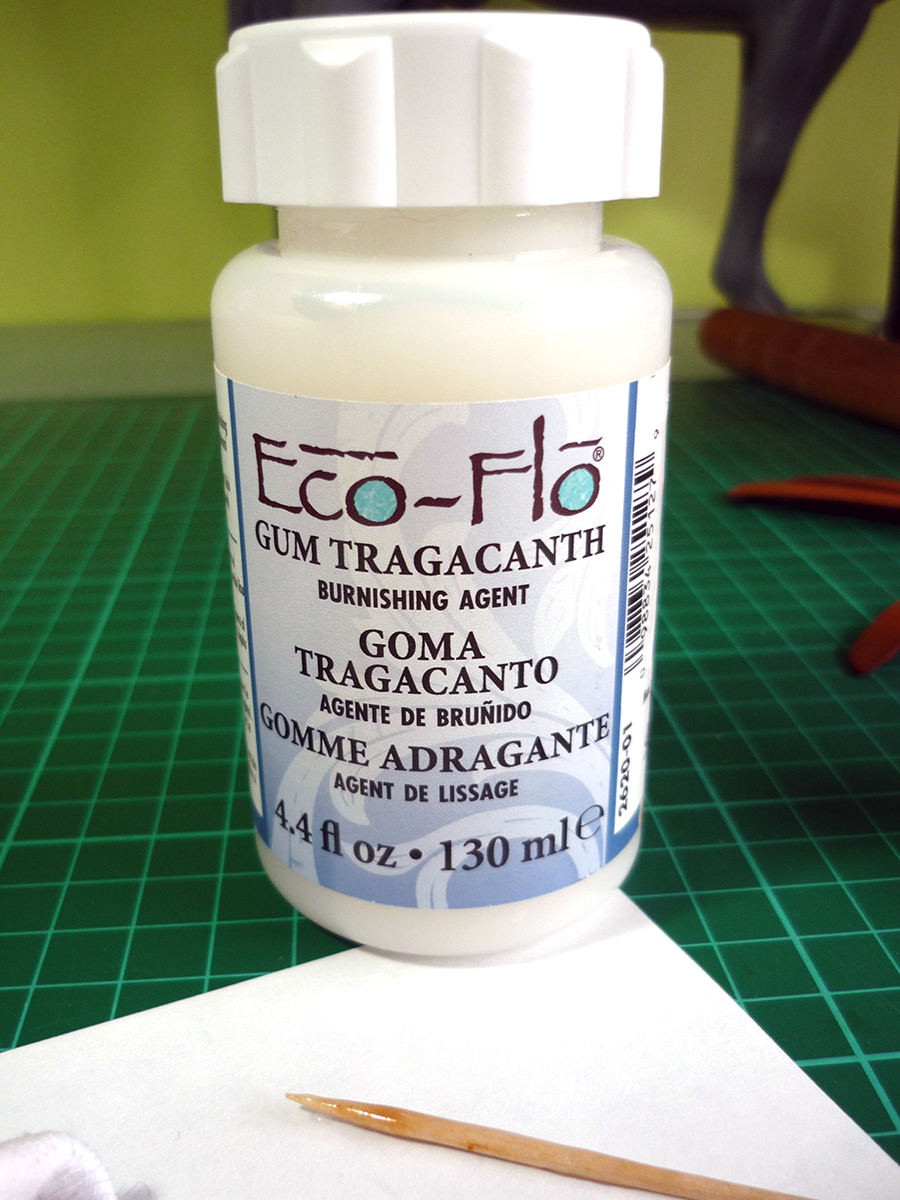
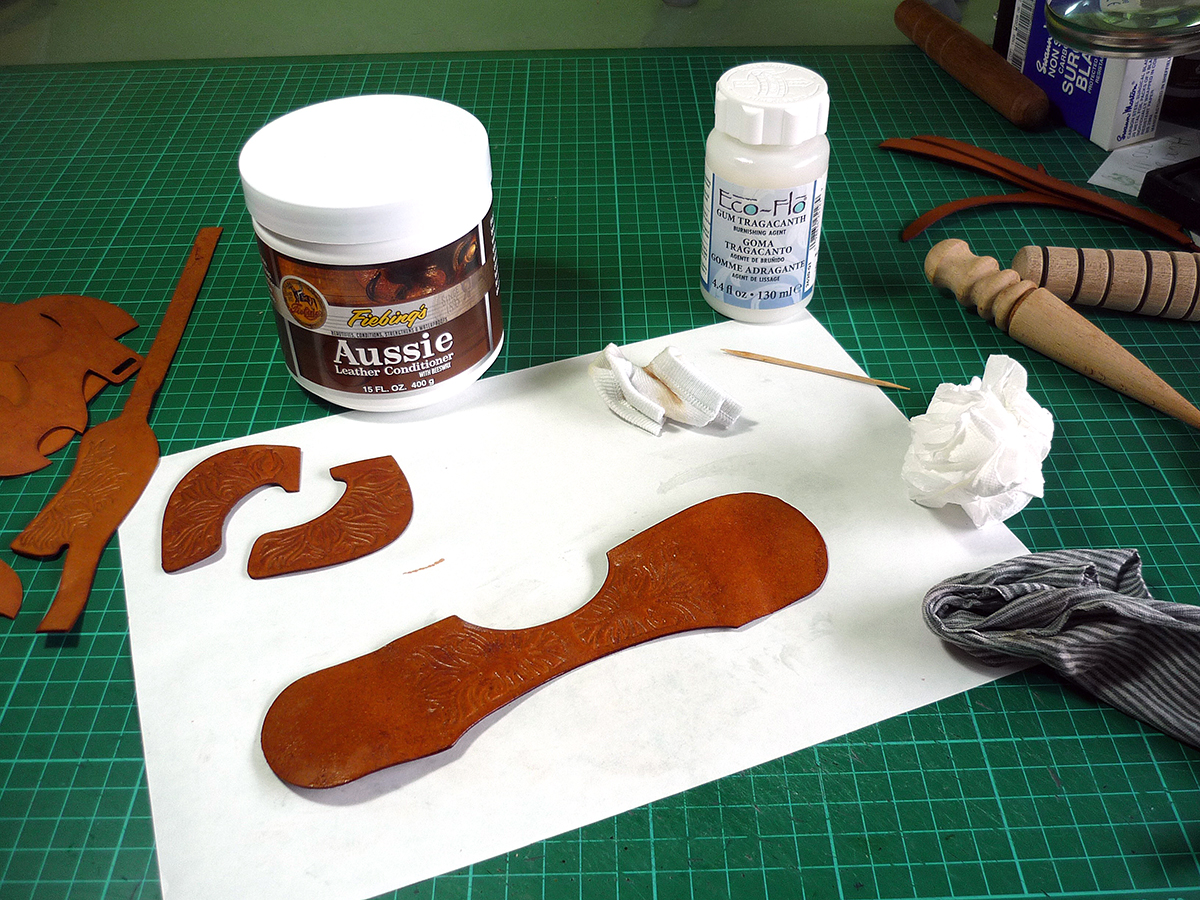
Working on 1/6 scale saddle pieces needs thin leather in good condition. On the advice from the Tandy leather guys in Manchester, I picked up some extras to improve the quality of my finishing. For the leather itself, Aussie Leather Conditioner, a product to keep it supple and workable and stop it drying out. It is very useful for dry leather, I’m just testing it out, applying some then doing a dye, see if it goes on smoothly. Also Gum Tragacanth and a variety of leather edge burnishers (I’m still trying to find the best ones for thin leather!). But it does make for a really beautiful finish on the edges of the leather.

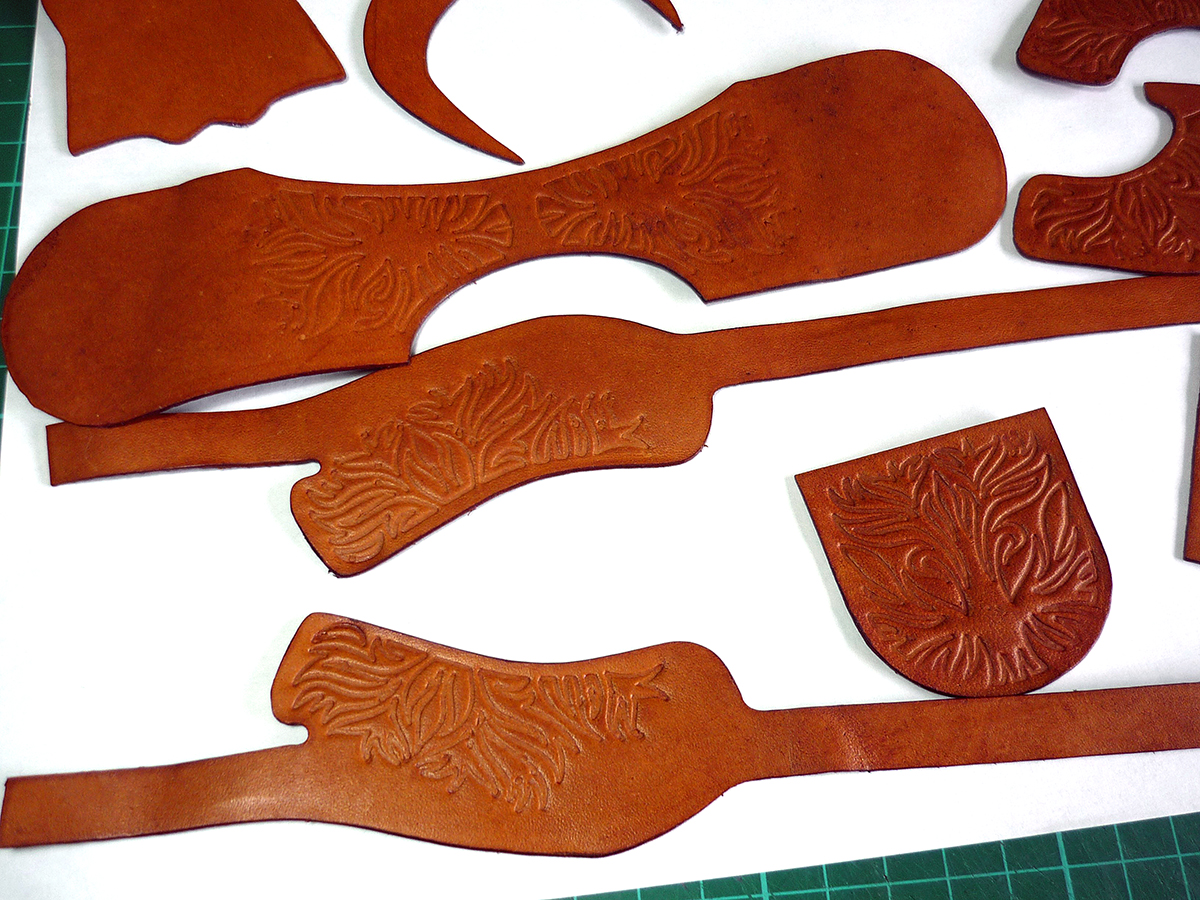
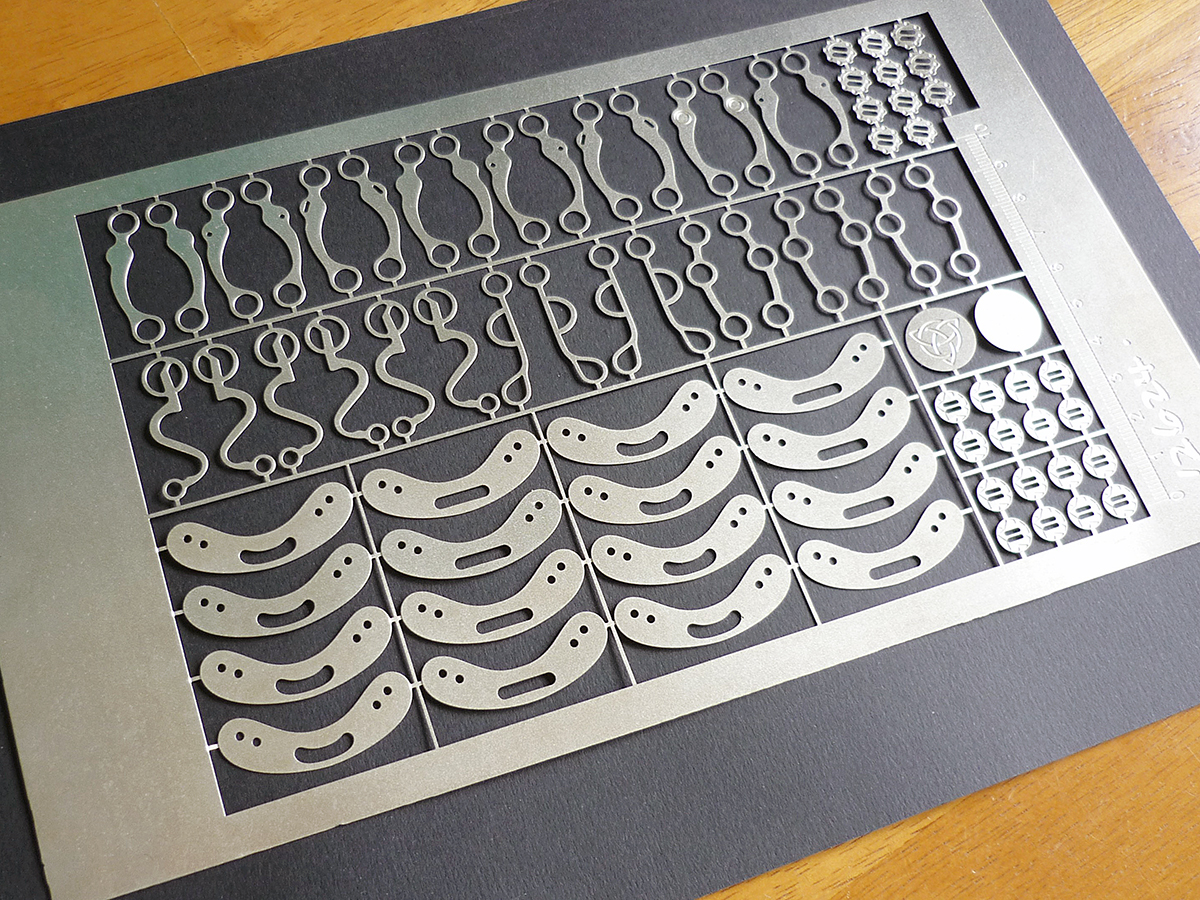
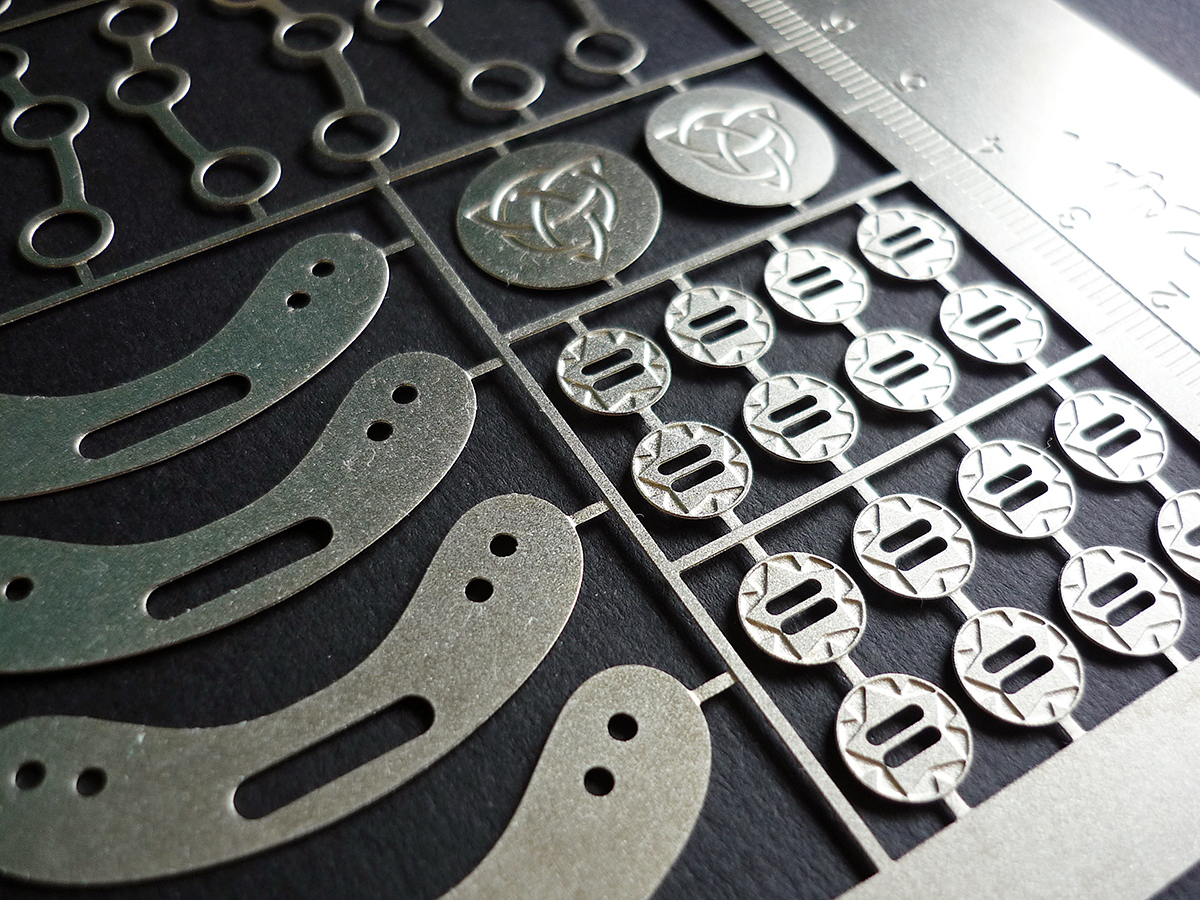
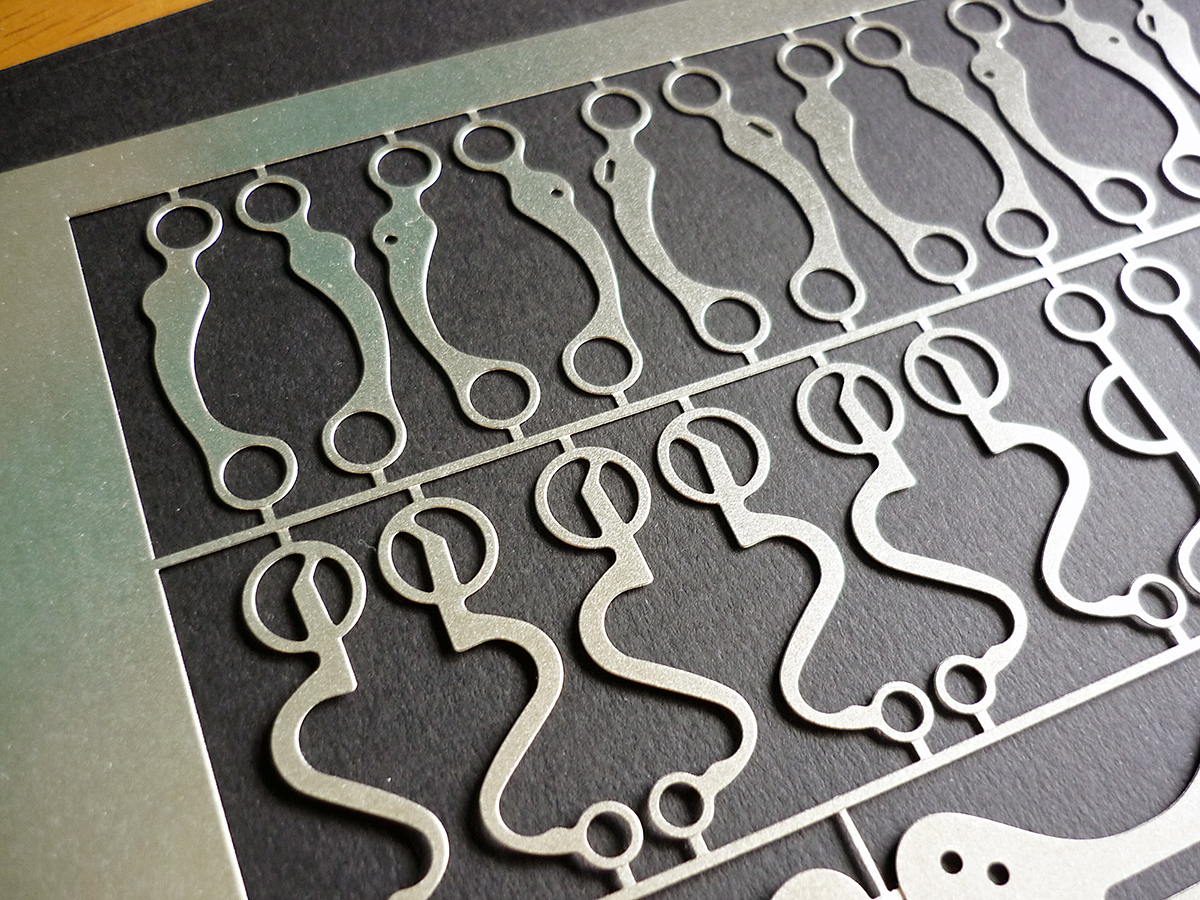
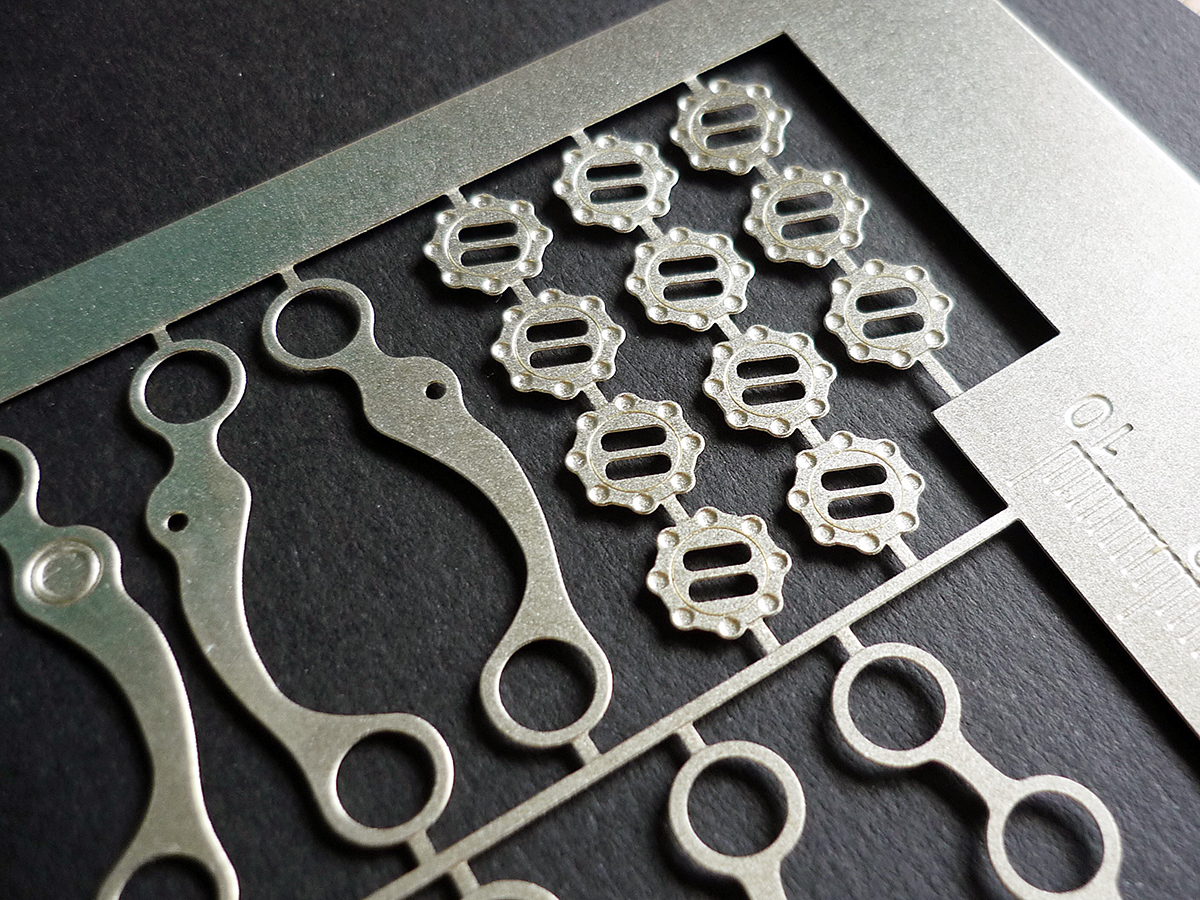
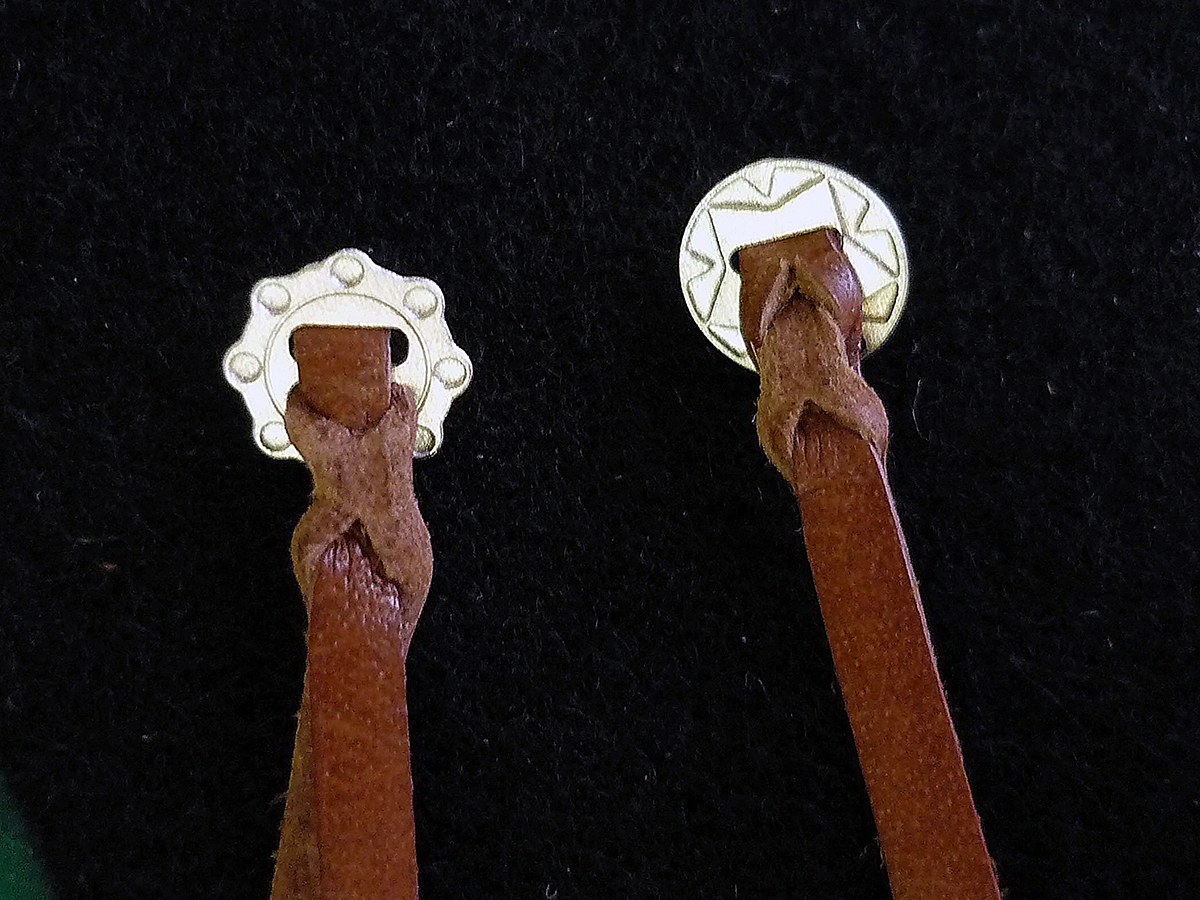
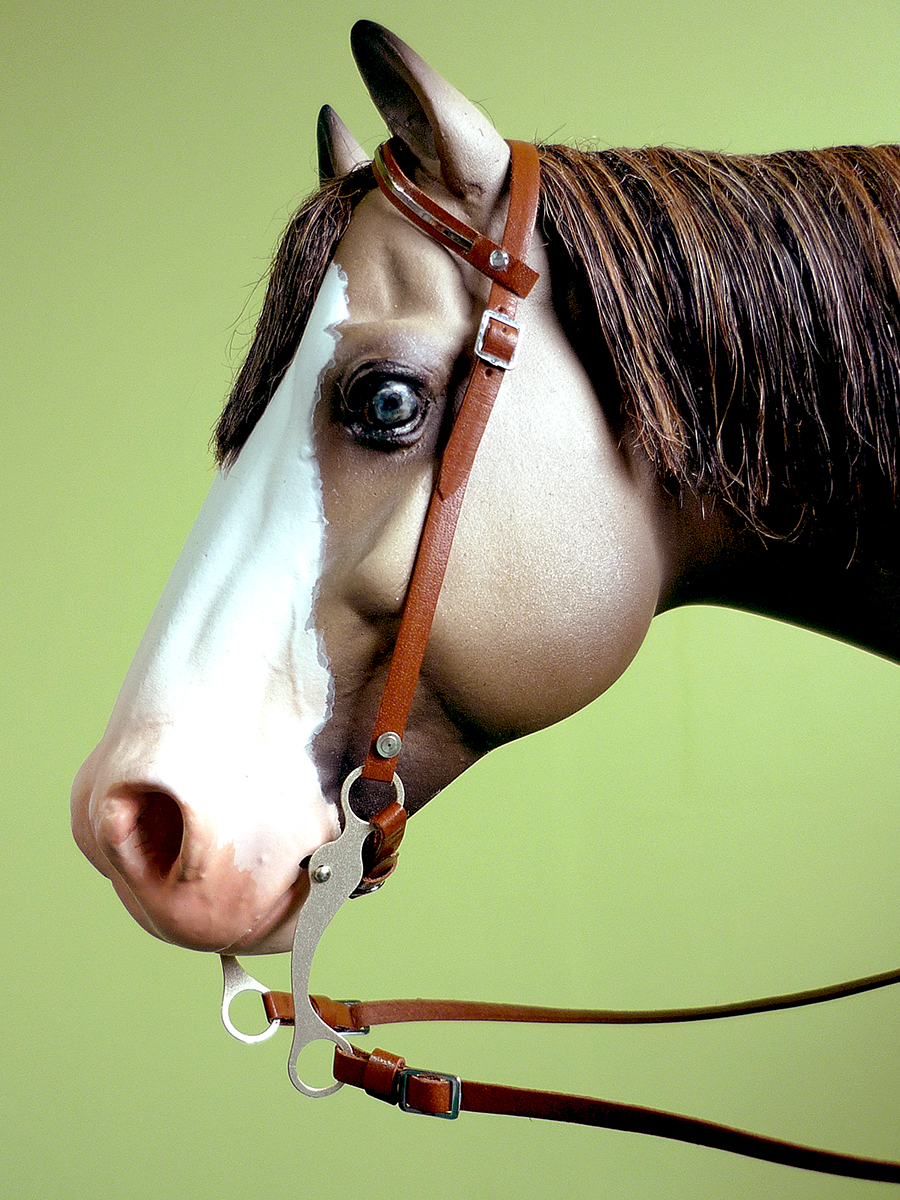
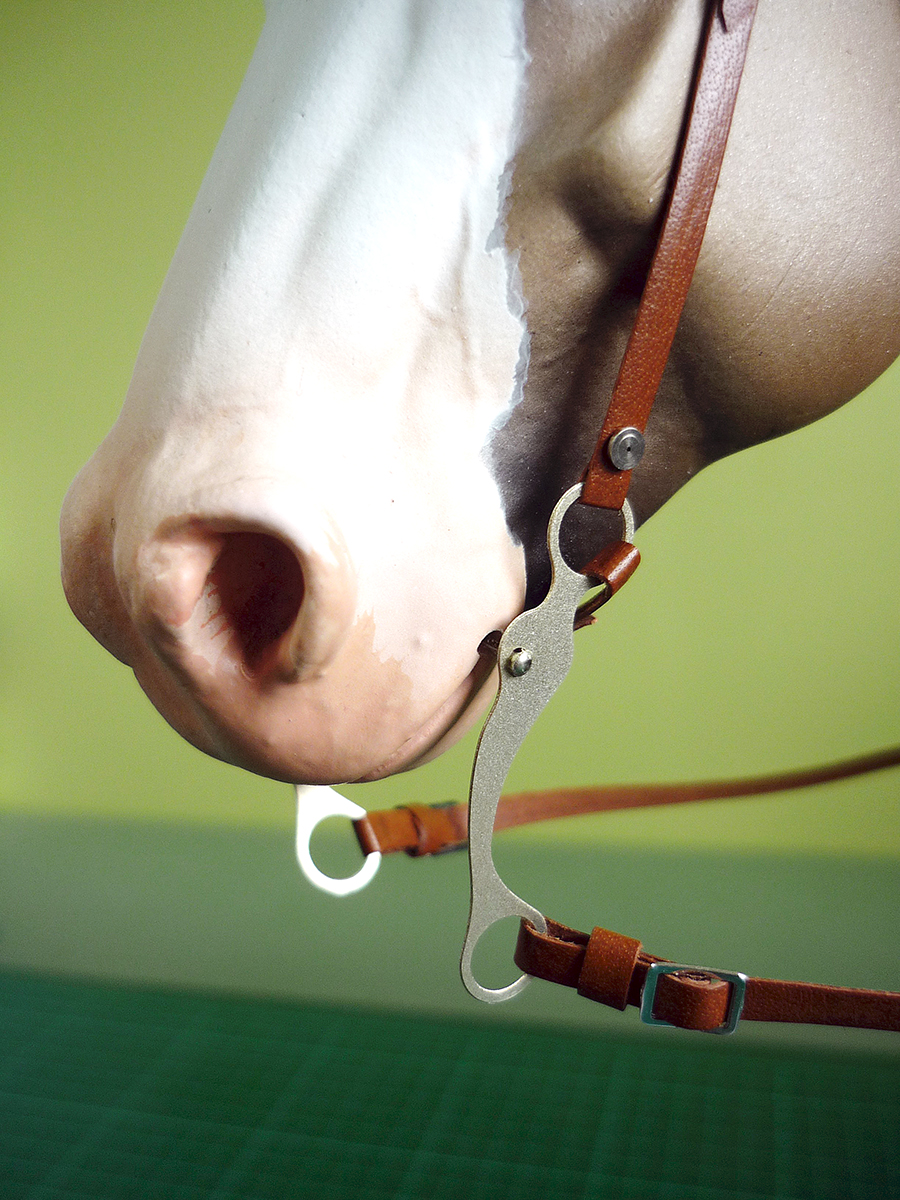
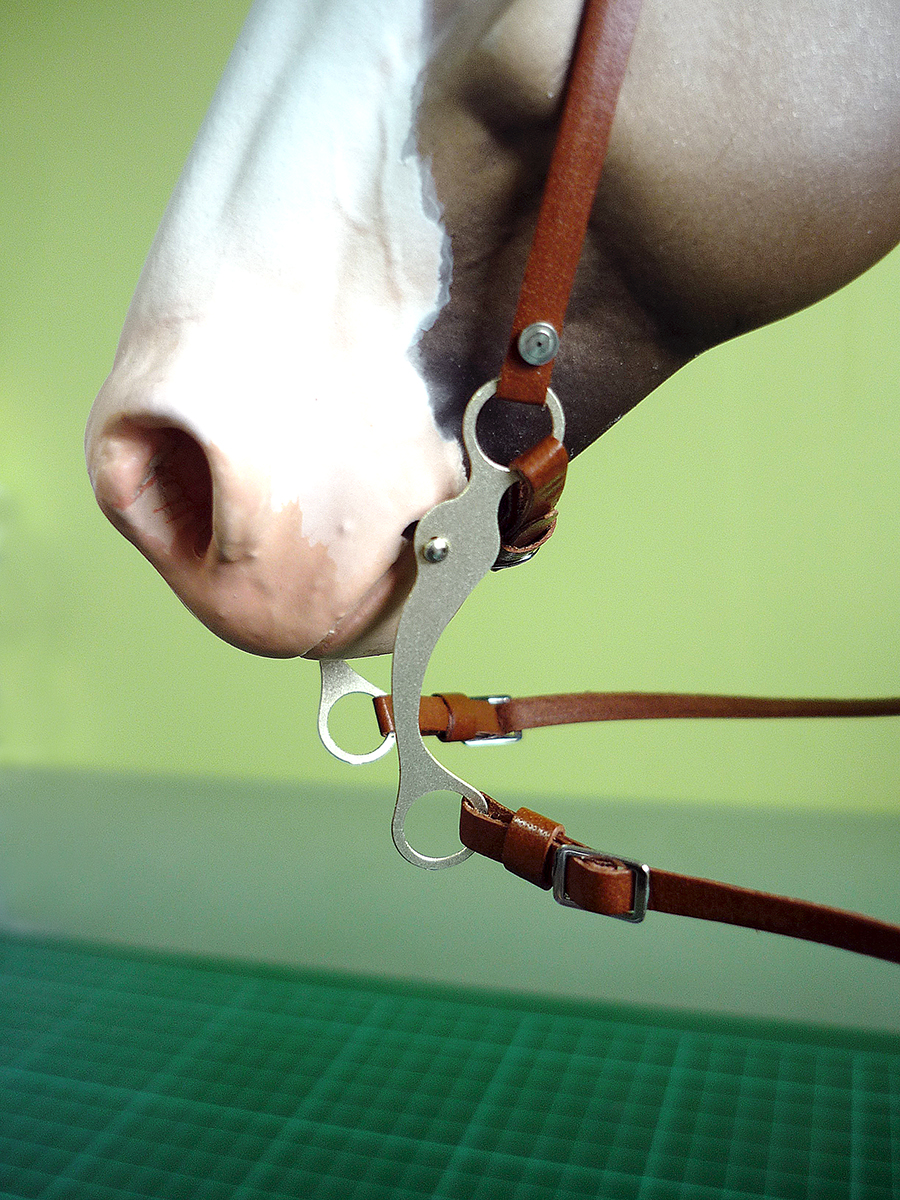
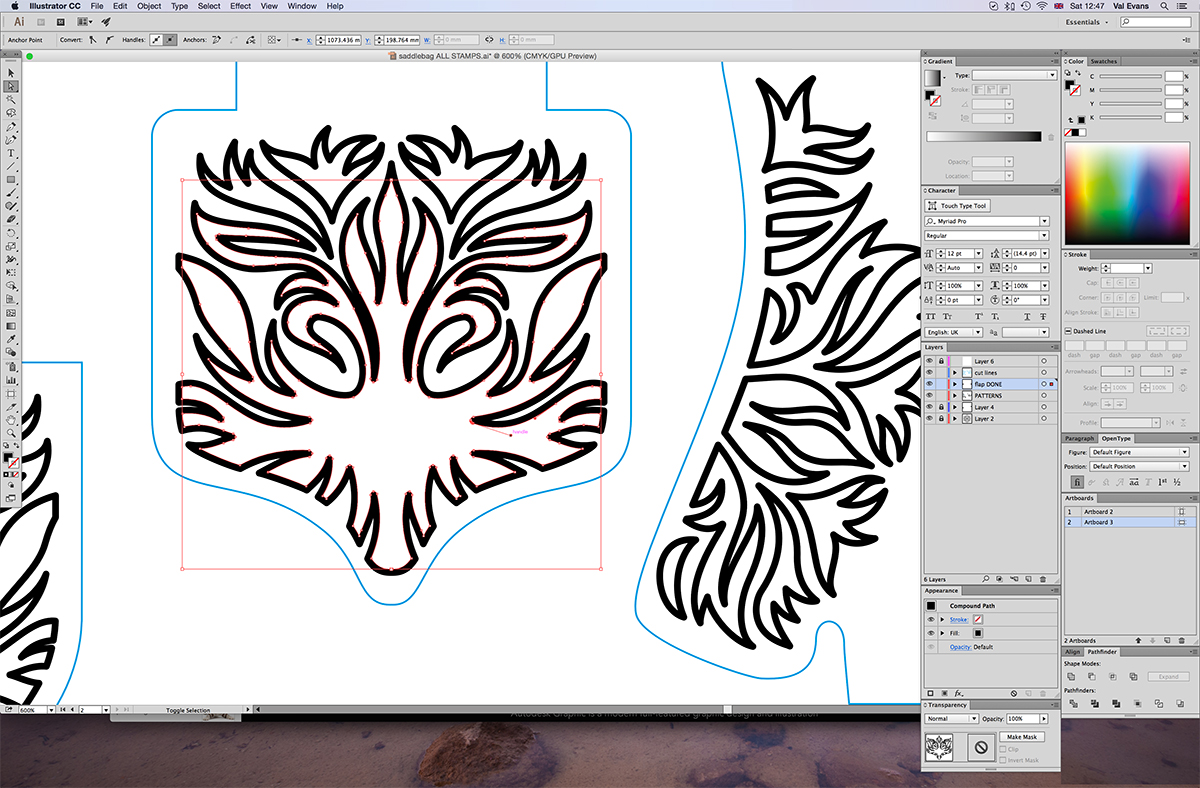
I’ve had a set of Al Stohleman cut saddle pieces in my box for a while now – I’ve been distracted by a somewhat ‘left field’ commission – so I decided to get dyeing last night and get it completed. Today I used the conditioner and edge finishing and the colour has turned out beautifully after being somewhat pale and uninteresting when first dyed. I’ve used 3D stamps on the saddlebags, back jockeys and fenders and I will be using the new photo etched pieces too, it’s all very exciting!

Photo etching 1/6 scale bits, plates and conchos

Along with 3D printing I have also been exploring photo etching for the first time. After a few false starts, I found a Birmingham company specialising in parts for the the railway modelling industry – Grainge & Hodder. They have been so helpful, Richard especially, who helped me with my photo etching artwork setup and was always at the end of the phone. I am really liking this process. The parts can be incredibly detailed, I am amazed by the slotted conchos and can’t wait to try them out on a saddle! There are, of course, some things I’m not too sure about (picky, picky!).

These first sample sheets were photo etched from nickel silver with a thickness of 015″ or 0.4mm. In terms of scale, compared to a real western bit, this is a tad thin. The thickest possible is 036″ or 0.9mm, so I think that might be the next step, to try another sample sheet or two! The finish on the parts is perfect – flat and blemish free, but they have come out a warm grey colour – don’t be fooled by the images, there’s a yellow tinge. I suspect the only way to change that is priming and spraying the parts, or a further finishing process. They do have to be protected in some way so that they don’t tarnish… methinks another phone call is required!

Software behind the 3D leather stamps

I’ve mentioned the software I use to make 3D stamps and added the links in the previous blogs. But just to expand a little for those interested.


Adobe Illustrator CS – Adobe.com

Illustrator creates vector graphics and comes as part of a design plan with Adobe. I use it in my other job, along with Photoshop and InDesign so its a cost effective solution for me. It is expensive but there are great alternatives out there, the one I found is an App selling for £22.99. Its called Autodesk Graphic and has a very similar way of working to Illustrator. With this programme you can construct the base patterns for your 3D projects. There are patterns, borders, decorative shapes included already, or you can search for free patterns on the web, there are tons!

A screenshot of the vector files used to create 3D stamps

Tinkercad – tinkercad.com

Although I have used 3D modelling programs in the past I didn’t have anything available until I found Tinkercad online, with the added bonus that it was also by AutoDesk. This online programme takes your vector graphics – saved as .svg files – and turns them into 3D models by extruding the shapes. It does a lot more than that, looking through the tutorials, but that was all I needed at this point for my stamps. Tinkercad isn’t the only software out there but its totally free and pretty easy to use! Plus the names it gives your files are priceless 🙂

Once you are happy with your models you can download various different file formats to send to a 3D printer for production.


3D Printing at Hubs.com

3D printing is now easy and affordable. Even the printing machines have dropped in price enough to be considered for home use, almost. But if you don’t have one there are many printers to choose from who will print for you at very reasonable rates. Hubs is a central website which puts you in touch with a local printer. Upload your files, get an instant quote and your models are printed and posted within a few days, easy peasy!